
Getting started with Arduino IDE & Arduino Board.
Hello, we hope you are doing good.
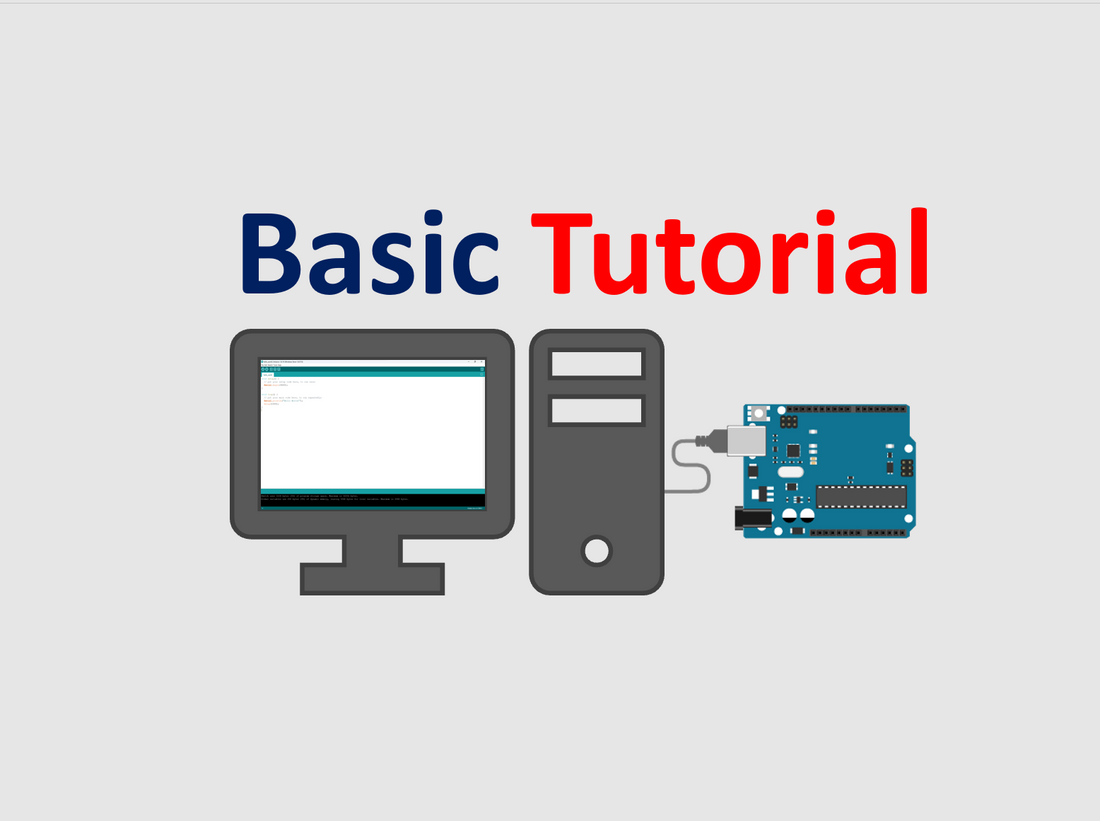
In this tutorial we will show you the basics of Ardino Uno and how to intract wih Arduino IDE software.
First let's start from understanding the Arduino IDE software:-

When you open th Arduino IDE and click on File option here you see many options like
- NEW option to open new page to write new program.
- OPEN option to open arduino programming sketch from file manager.
- Open Recent option to open recent sketches.
- Your all saved codes will be found in Sketchbook option.
- In Example option you get many example codes to use with arduino board.
- Preferences option can be used to set Sketchbook location on your desktop and to add additional Arduino boards and microcontrollers to Arduino IDE i.e ESP8266 NodeMcu, ESP32 etc.
When you click on Sketch option you get below options.

- Verify/Compile option is used to check if code is right or have some errors.
- Upload option is used to upload the sketch/code to arduino board.
- Include library optio is used to see existing libraries and to add more arduino libraries.
- Add file option is used to open .ino file in Arduino IDE.
Tools opion.

In tools option you will be using Boards and Port mostly to connect the board to Arduino IDE.
Now let's write your first code and get start with arduino:-
Quick Steps:-
- Connect Arduino board to pc via usb cable.
- Open Arduino IDE.
- Select the board and com port.
- Write and upload the code.
- Open serial monitor.
Take out your arduino board and it's programming cable from your RoboHUB Arduino learning kit, connect your arduino board to your desktop and open Arduino IDE, select arduino board from "Boards" option of arduino ide and then select COM PORT.
STEP-1

STEP-2

STEP-3

Upload the following code-
void setup() {
// put your setup code here, to run once:
Serial.begin(9600);
}
void loop() {
// put your main code here, to run repeatedly:
Serial.println("Hello World!");
delay(1000);
}
STEP-4
Open serial monitor

Set Braud Rate to 9600.

Serial monitor start showing Hello World! print.
Hurrey! Congratulations for your first succesful step towards exploring the huge world of innovation using arduino.